So, You wanna know the ins and outs of rigging?
It's quite Simple in all honesty, let's getin into part 1:
Beginnings
Let's first explain what I catagorize as the three kinds of rigs
Low-Detail, Medium-Detail and High/Hardware-Detail rigs.
Low Detail Rigs are for things like LOD models is lower spec harware, generally, these don't have to be minimal,
It depends on the kind of model, character models that are low detail are often just what it needs to
look natural, fingers aren't rigged and eyes and faces aren't either.
Medium-Detail Rigs are often used for characters, these can have the fingers, eyes and mouths rigged,
but mostly, that's all that makes it different from Low-Detail Rigs.
Hardware-Detail Rigs are often reserved for cutscenes and animations, these are only limited by the capabilities
of the model itself, pockets, straps, hairs even, these are often not used in gameplay.
The Actual Beginnings
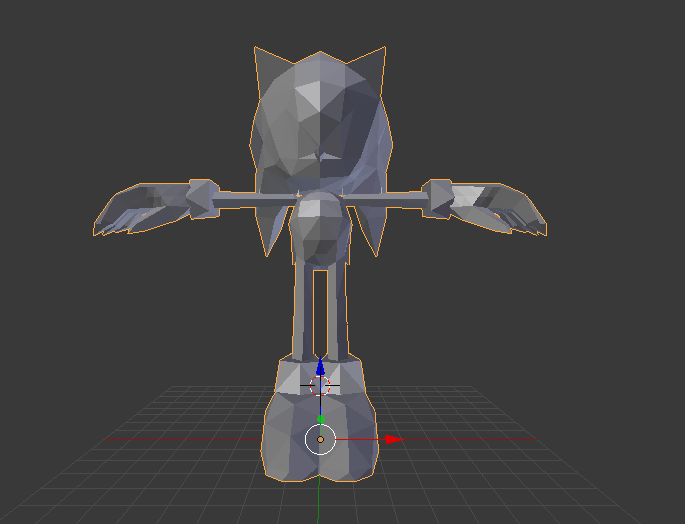
Here we have our model, It's not much, but we're not here for the model, we're here to rig it.
But oh woe is us, we have no rig!
Here we have two choices, if we're gonna port this to something, you can skip to the weighting segment.
But for everyone who's still here, we've gotta make our own rig.
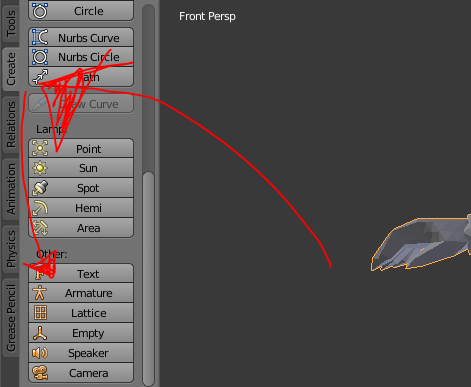
So we start by creating a new armature, then going into edit mode.
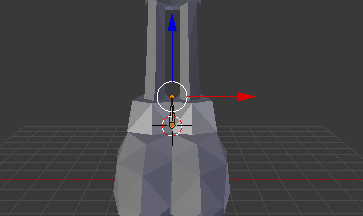
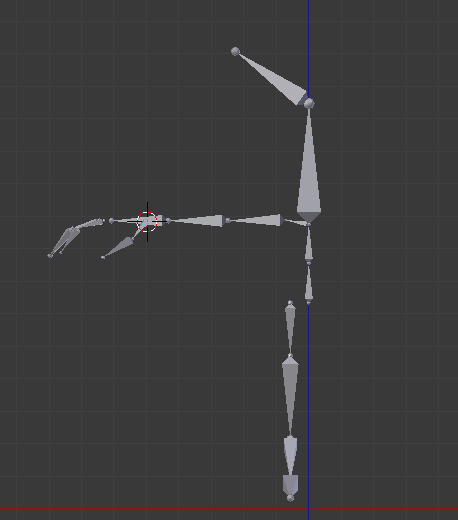
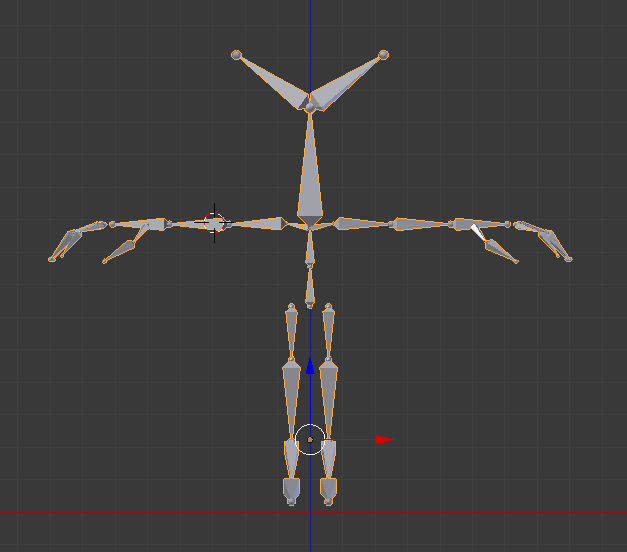
Now we have our first bone, this bone could be any bone in the mesh, but it's advised to be the root bone,
The bone every other bone is a child of.
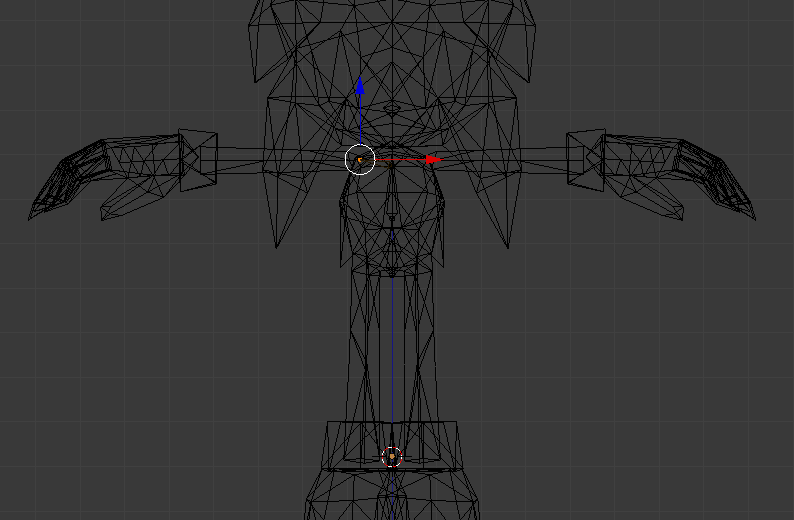
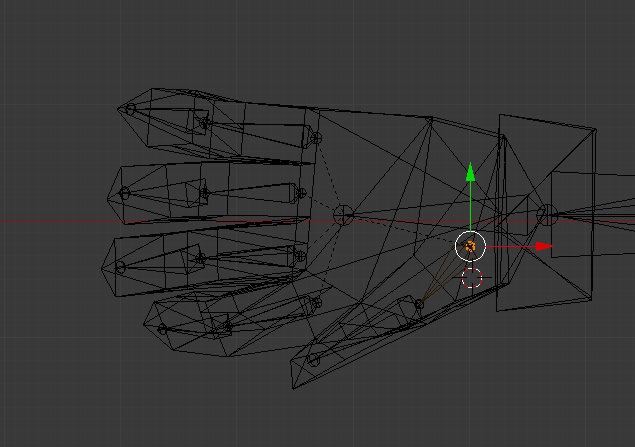
Let's start outlining our rig, where the character would have joints, like the knees, elbows, wrists, and clavicles (shoulders).
Sometimes it might help to enable Wireframe view to see where the vertices for the joints of your model lie.
Some parts of the armature might be hard to make, like the hands, a good rule of thumb might be to only place bones where edges are,
My model only had two loops of edges, so my finger models will only have two bones for each finger.
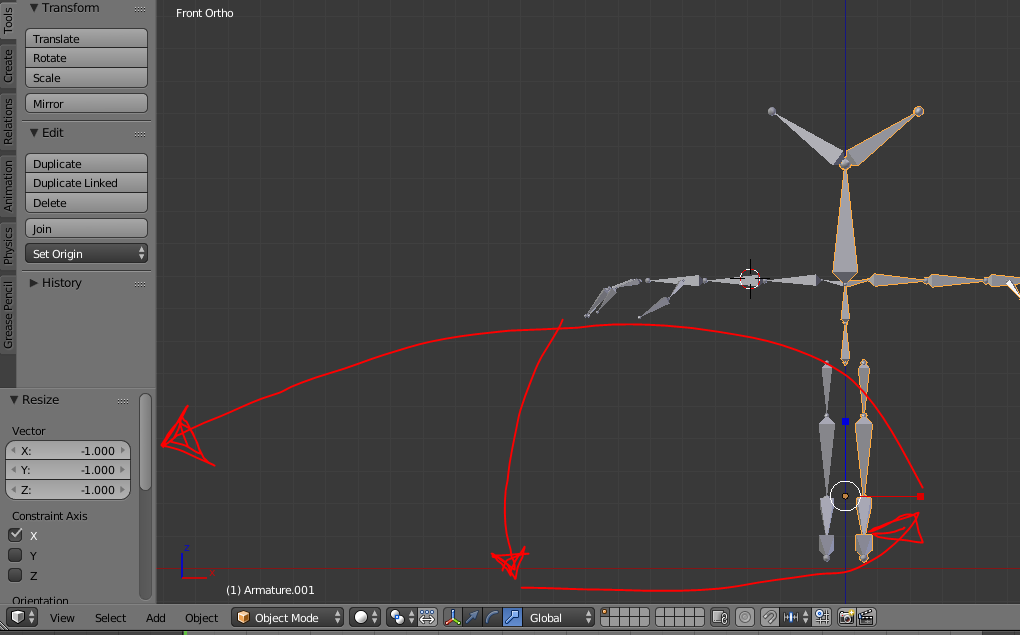
Now after finishing one side of the armature, you might be wondering "How do I get this to be symmetrical both sides?"
You'll usually use a mirror modifier, but I fucked up when making the rig and forgot to have one on, but we can always fix this!
First, you want to duplicate your rig by hitting Shift + D, then you want to resize it -1 on whatever axis that flips it,
Then you want to select the rig you just mirrored, and delete any bones that conflict with the other side, like head, spine and such,
And once you finish that.. Our rig should be done! Looking at it now, It looks like something from FNaF, but that's cause it technically is the same thing.
Now for the most fun and interesting part..
The Weighting!
I'm joking, it's pretty boring.
Now, Let's bind the model to the armature,
Select the model first, then use Shift + Click to select the rig, you want the colors of the selections to look like this.
Then, after we select them properly, we hit Ctrl + P to bring up the parenting menu, you want it to look like this, if the armature deform menu doesn't appear, select them in the opposite order.
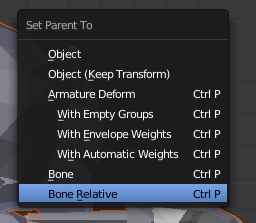
You'll see three options below armature deform, if it's your preference, you can let blender weight the model, then fix the broken weights, or by choosing empty groups, You can make the weights yourself, I'm gonna choose automated weights because I have already spent alot of time on this.
Now that we've added the groups, we can weight two ways, weight paint, and edit mode.
I don't recommend using weight paint given how inaccurate it is, but you can do it if you're comfortable
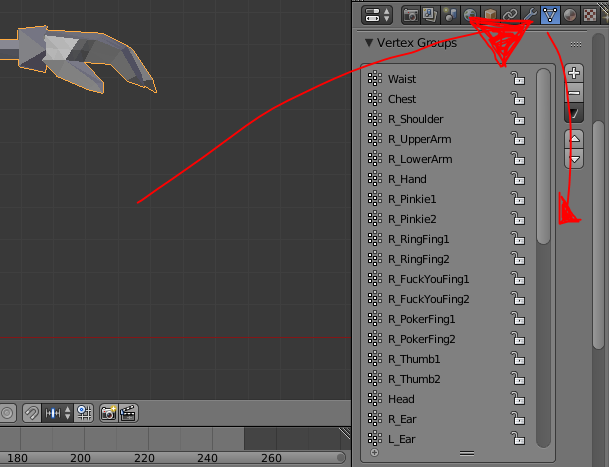
To weight in edit mode, we need to go to the mesh properties tab, and scroll to our new friend, the vertex groups tab, this little guy allows us to weight in edit mode, I suggest setting weight strength to 0.5, as we can blend weights that way.
Here's a couple more tidbits of advice, leave a little overlap in your weights, if you don't, you might find that vertices clip through eachother, and try to avoid weighting everything with 100% weights, they work for things like head weights, because they're undeniably the head, but on the arm, it might look wonky!
Finished!
You model is all weighted, and now you can pose it! I'm not too experienced in making tutorials, so I can't tell if I'm missing any steps, so if I am, then scream at me a twitter about it! @TristanEdward4